


Previous Article >> D Frame Mini I - LUMO
#11
The fans...well,I had a change of plan,I ditched the idea of painting the blades and hubs as I had a better,more discreet idea instead.

I followed this thru on to the PSU.

Initially, the PSU was going to be painted but...the top cover has the fan guard welded in so I cant separate them to paint. The rest of the chassis cant really be seen so,I compromised a little and went for a desticker and a fan ring to tie it all together.
Looking at it,im glad I went this way.
The largest thumb screws ever packed with a PSU!

I also got to work on the peripherals,im still planning the graphics for these and the KB needs some low profile key caps but....its YELLOW!!

Thankfully,that recessed Corsair logo is easily removable for paint! Masking recessed stuff is a pain!
#12
Its coming along rather nicely,been a smooth experience so far...but....it aint finished yet and the hard bits are yet to come....
The tray is at a stage where im ready to send the parts off to the machinists,E22 for the Steel and PARVUM for the Acrylic.
Only a few little thing to do,mainly marking out cable guide screw holes etc.
First renders of tray with inbuilt res.....

All the fans gets the striped treatment and I had a go with a new white rather than black background,I also moved all my photo kit into the loft and added another light.

Much clearer and the yellow looks yellow!
And just for you...some Magoo greatness.

#13
Today was all about the RAM.
Pinstriped and left otherwise untouched.

#14
The EK package arrived!
Lets start with the pump...
Now,im a well known advocate of the mighty D5 but this build doesnt have the space so I had to go with the DDC. As any watercooling enthusiast will tell you,there are caveats for running DDC's at high speeds,namely keeping it cool. The heatsink kit will go a long way in to doing just that.

If you are going to have a DDC then go PWM,your pump will thank you for it.

Fittings and rads were also sent....pics later,you have all seen fittings before but I made the fatal mistake of washing my black background with normal detergent and its ruined for close up stuff,the optical brighteners just shagged it proper for macro stuff...
Lesson learnt!
Did a bit more striping on the finished top to tie it in too.
I have a new background coming tomorrow,a nice dark grey vinyl,should allow me to make dark shots without having to make severe adjustments to kill the background out.

#15
Keeping the updates thick and fast,the EK PE rads have arrived!
This is great as the trays should be in my hands this week and I need to start betting the rad/fan assemblies ready for on tray placement. I dont have a massive amount of room so thickness could be an issue...we will soon see how well i judged it.
Or not.

Thin but high FPI,just what I need!

The reason I went with these rads specifically is size and the ability to remove the sides for painting,black marbling will look very tidy with the graphics going over the top of it.
#16
The flouro plugs arrived!,the whole PSU is being decked out in Teleios Dark grey and those lumo plugs,

Should look good plugged into the exposed backside of the Aquaero...which has the heatsink arriving tomorrow also.
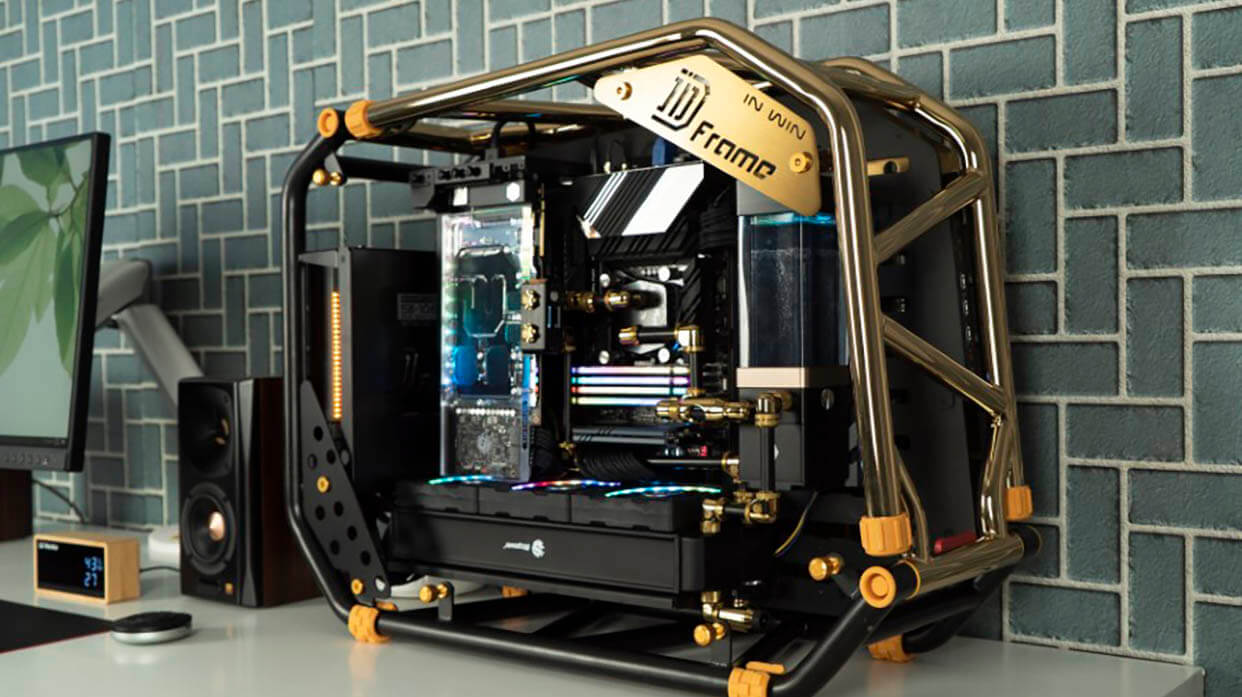
InWin provide a very tidy 240 rad holder that shrouds the fans completely...I like this very much so I called InWin and they sent a second shroud for the second rad,great success!
There will be an E22 FG03 going on to the face to tidy it up....

The trays arrived yesterday and I got the marbling done today,this is still raw with no clearcoat so its a bit bumpy. I still have to smooth it a little with some wet and dry and then lots of clear,sanding in between to flat of the high points but fill the low. It will get depth and the clear will soften the edges of the marble.
The standoffs are bolt thru M3 from Wurth Electronik,11mm. This is so I can use the banchetto PCI clamps.

And the FG03 from E22 to go one the front facing rad/fan assembly.

#17
So...The trays are painted and fitted with some 25mm spacers until the acrylic arrives.
Also,first time out for the grey backdrop with all that yellow!
Nate@e22 turned these around very quickly for me,I thought the renders looked cool but to see it in the case has made up my mind that I am on the right track.


I marbled the rad sides and made a graphic for them,jury is out as to whether I use it or not...thats a job for after fitment and a little look-see.
Due to the incredibly tight space in the frame,I reckon that if I use 20" of tube I will be amazed!

So a quick change of graphic and the assembly of the rad and fans can begin.

I may go a step further and do the intake edges as well as the surround of the fan grill.

#18
As snug as a bug in a rug..Now thats tight! I may have to break out the crowbar....

I will have to take this all into the loft for wider angle shots,my desk is not big enough!
The tray was cut at the weekend and is on its way,in the meantime I started on the loom. Dark grey Teleios sleeve from E22 with florescent yellow plugs should fit nicely.
Sadly I ran out of sleeve so its off for more...

Im getting quite excited about the tray coming now,I will be able to properly assemble the whole tray and get those rads in.
While im waiting for the doorbell to ring with the acrylic tray,I did a final mount up to see how everything fits and goes together,Im glad to say it went together like sticklebricks.
Here are some shots before the teardown begins.

The more eagle eyed will notice the bottom rad is missing its graphics,I had to switch it round as the GPU power and port clashed too much for a nifty recovery.

Thanks to Kier for donating the microcool PCI mounts!

Because the acrylic will be clear but frosted,the back of the res got a vinyl covering to make it pop more.
Thanks for keeping up with this log,its so close I can taste it!
#19
The tray arrived from PARVUM today!
Thanks again to Justin and Shaun,they turned this around quite quickly for me.

And with the infill in place.
In the meantime and because im impatient....

This is why I put a background to the res.
Thats not the HDD im using,its a placeholder....I will put something fairly massive in as it will be a pig to change over....
New HDD has arrived and one side is done!!!!
Except for a de-sticker after the drive has been validated of course.


The fill port.
Im going to give up on trying to take photo's of the glass without reflections

#20
So,as im in Bit techs MOTM,I thought LUMO needed a update.
Its looks like not much has happened,its because everything is behind the scenes,the wiring is all run behind the tray,no room for the GPU power like first thought,you will see a bundle of wiring coming out the back in one shot as they need to be trimmed back,they were cut extra long to go behind the tray but it didnt happen.
Plus I get to try out my polarizing filter!


Next up is the Aquaero/pump/rad bracket that will tie it all together,these brackets were not designed to have this kind of weight on so there is a little sag on the bottom rad box. The bracket will tie it into the vertical rad,adding strength and eliminating the sag.
For the tubing,its looking like the usual mouse gynecology,its tight in that bottom corner!
Thanks for looking and leave a comment!
#21
A nice view over London from Greenwich park by the observatory,2 offers to buy and a million "What is it?" questions later.....


'Studio' shots later on!
#22
Last shots with a new coolant,yellow pastel with half a bottle of UV green in it....
Just fettling the OS ready for I series and letting steam fill up all the drives.

You can see how tight it was to work in there in this shot.....


Im about ready!
#23
What I did on my holidays by B NEGATIVE.....
I SERIES!!
I even wangled it to have WiFi access so I could play games while being herded by kids wanting to play Goat Simulator.....
Plenty of Solidworks action for the InWin 901 im currently planning whilst 'On Stand' which was fun.

Also sorted out what I needed for the LUMO rebuild too!